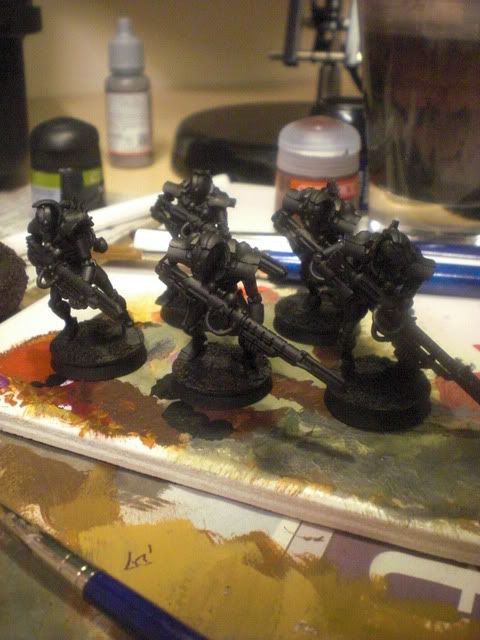
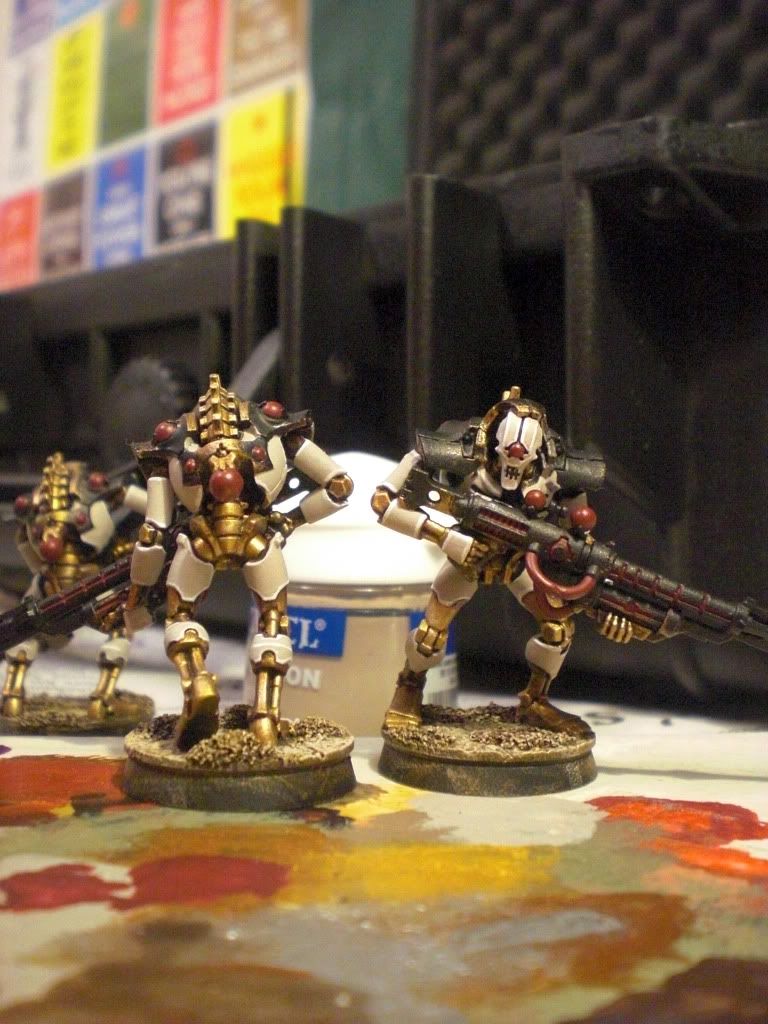
 So, progress has been slow of late. It's partly my fault and partly the fault of the mountain of work I need to get through before the end of term. Got a few essays to write, which requires reading, planning and all sorts of things I didn't need to bother with when I was at school - University is quite a different experience! I have managed to make some progress on the Necron Deathmarks though. Their metal parts, as well as the carapace, are now finished. The aim was to achieve a really clean, solid colour using Dheneb Stone, with a simple edge highlight of white to make it pop. As I've said, these are for a commission and credit for the scheme has to go to Jon - I love the choice of colours and I think they look fantastically appropriate on these robot-skeletons.
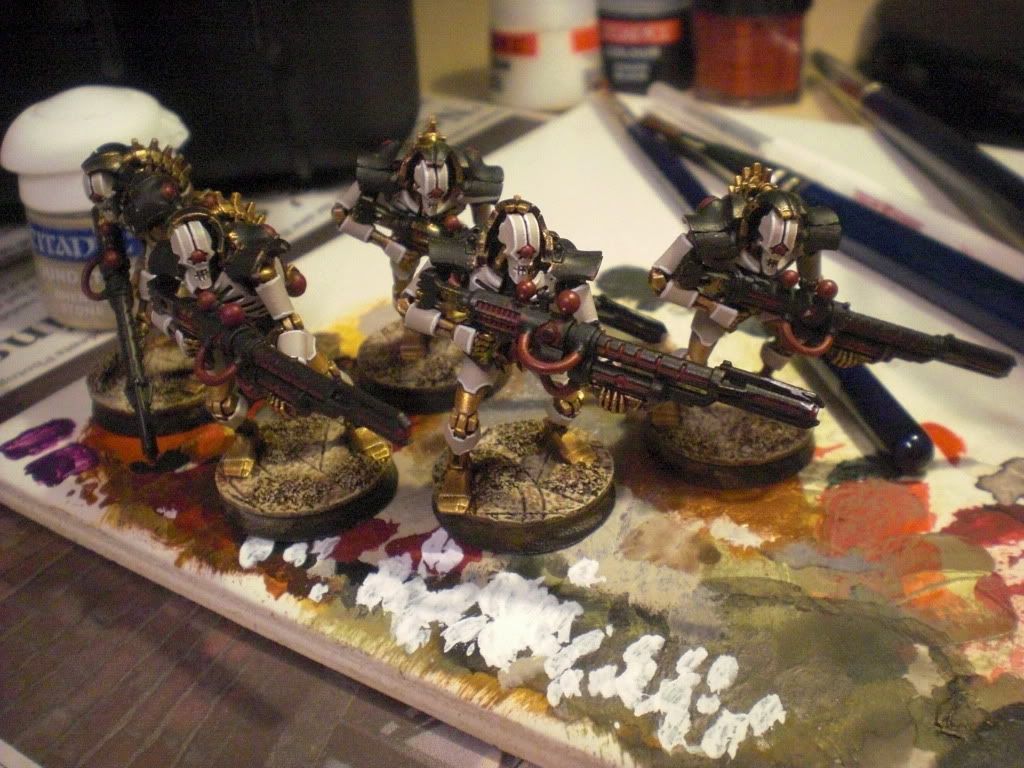
The next stage is to clean up the black areas, which are to be highlighted with red, through to orange and white, in the style that is often used for Dark Eldar armour. I love the very alien effect that such a style produces. Next, I will be taking care of the various orbs and lenses dotted around these models. Some of them will be pulsating with electrical energies and some will be painted as sources of light. The plan is to get these finished in the next week or so, but it might be a bit tight what with various deadlines creeping up on me...
 |
| Empire Wizards |
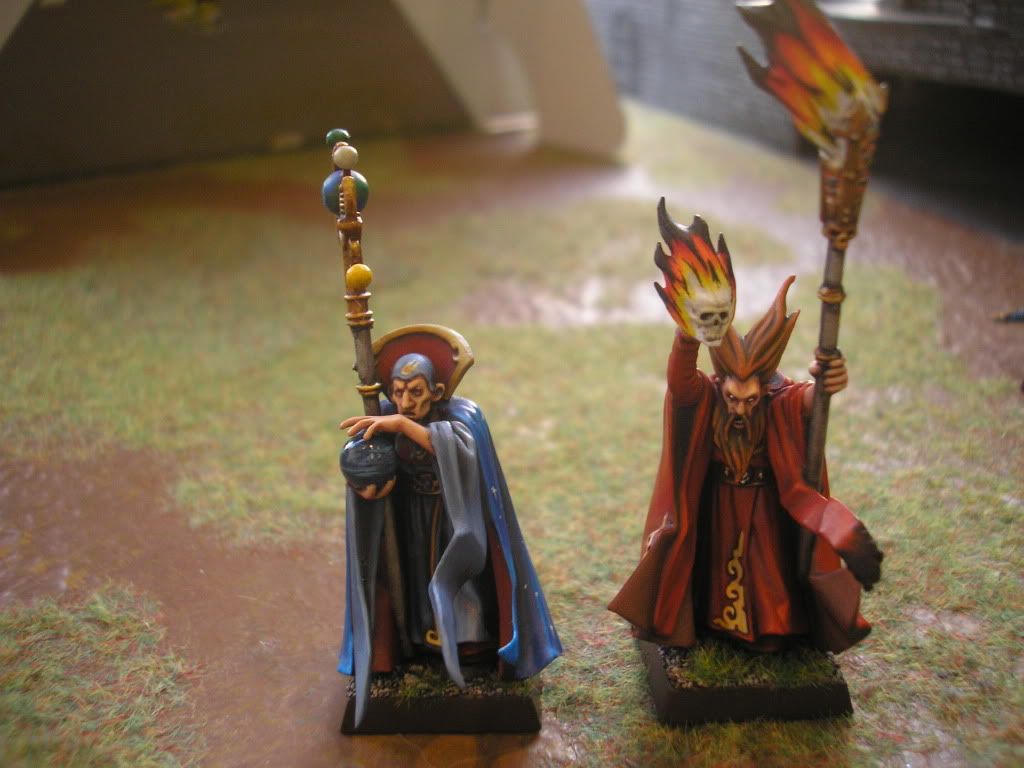
Aside from current projects I have a few more completed models that I wanted to post up here. These two are Empire Wizards from the Warhammer Fantasy range that I painted a while ago, just for kicks really. They live at Heroes and Legends while I'm away looking down on that bustling world of hobby from their towers... well, cabinet.
I tried my best to achieve a really smooth gradient of dark to light on their cloaks and to just keep the paint-job generally tidy in all areas. For the fire I took my cues from an old Masterclass from White Dwarf, where the 'Eavy Metaller used this effect on Skulltaker. I'd always wanted to try it out and there was plenty of opportunity with this Fire Wizard. For both these models I wanted to paint them in the style of 'Eavy Metal and get them looking as much as possible like the pictures on the box. It's not the same standard of course but I am still fairly happy with these models and I'm proud that they're still on display in the shop.
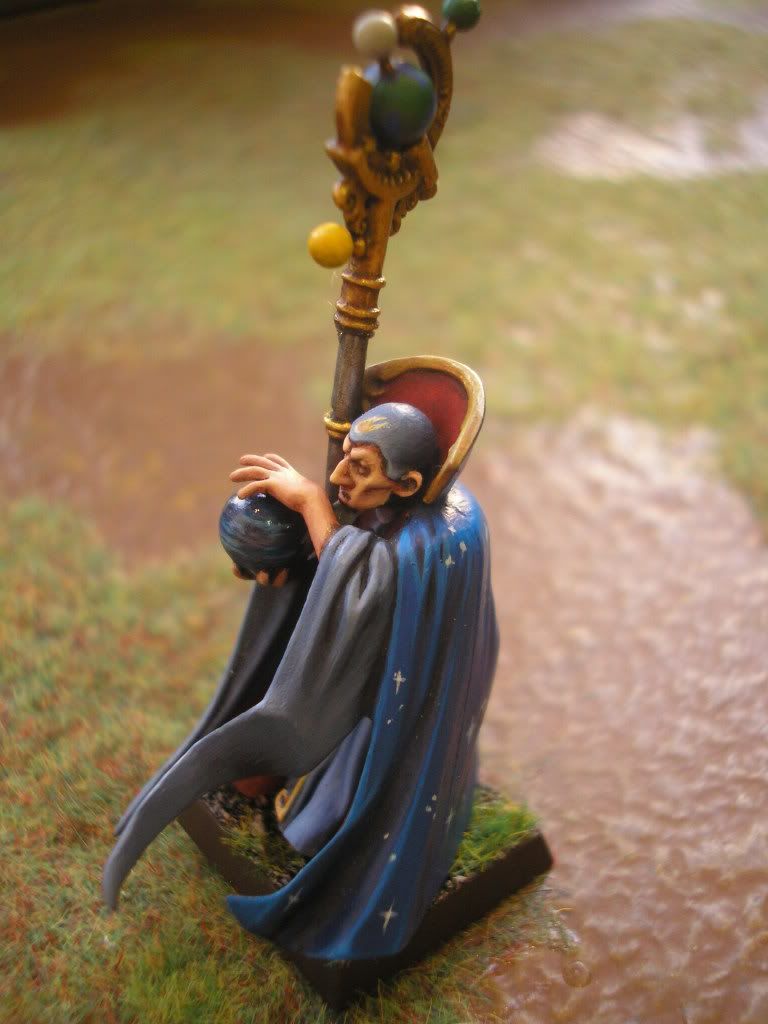 I was asked recently how I did the stars on the cloak of the Celestial Wizard so I thought I'd just mention it here. Essentially it's quite simple: Using a very thin brush, and a steady hand, make a faint cross shape using a lighter version of the cloak's highlight colour - in this case a bright blue. The trick is to paint the cross 'from the outside in', which is an abstract way of saying that when you finish a line, your brush should finish at the point where the horizontal meets the vertical. Usually this will mean that a small blob will amass in the centre of the cross, which is what you want - this looks a bit like the way a star might glimmer. If you feel your star needs more shine, using the same technique to paint an 'X', centring on the mid-point of the cross will make it look more like those stars you used to see in primary school nativity plays. After doing all this in the same colour, use white to do the same thing again, but much more faintly, allowing some of the colour underneath to show through.
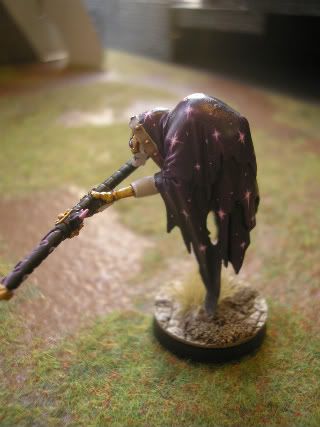
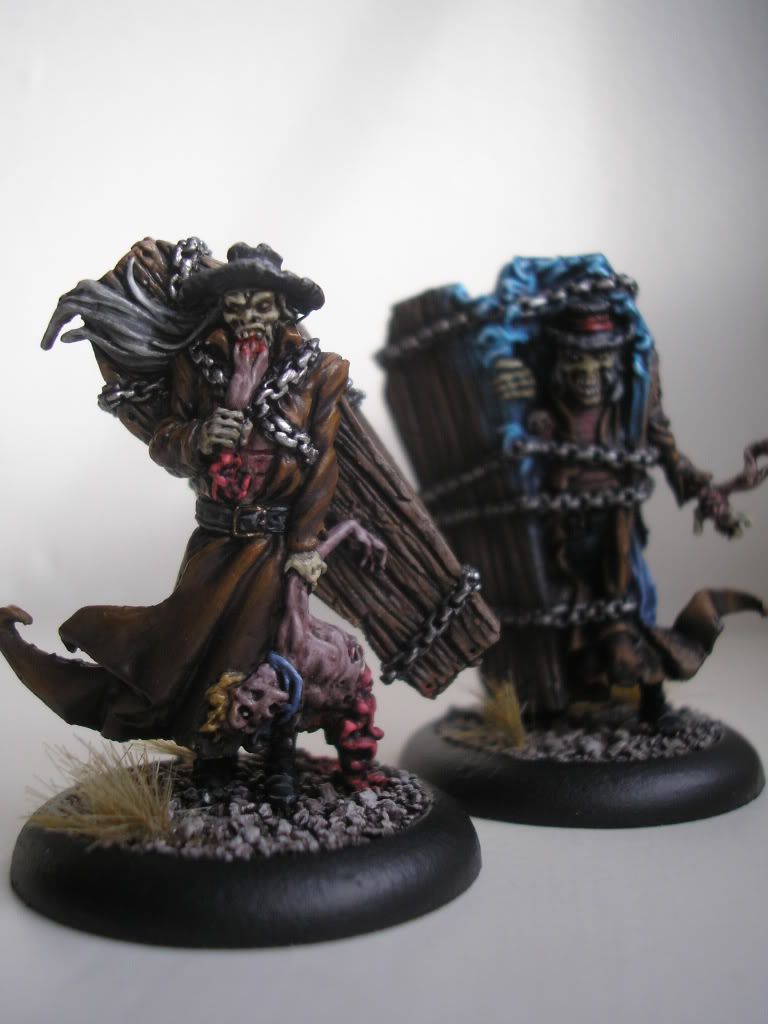
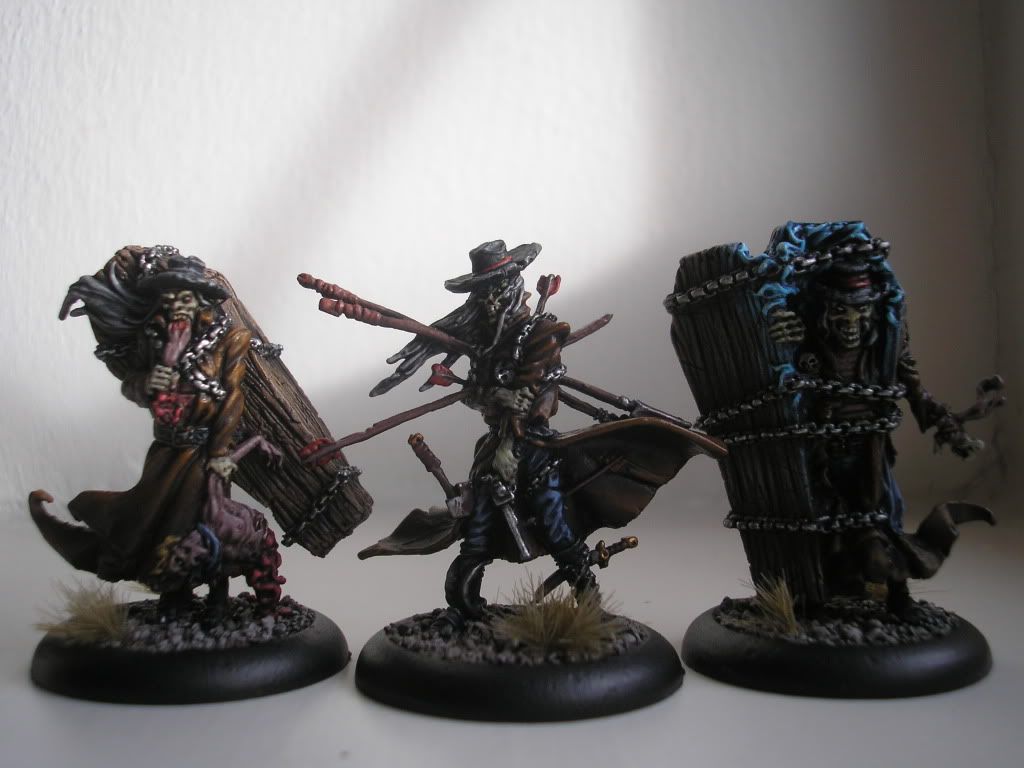
While this wasn't the exact technique I used for the Celestial Wizard, I 'refined' it, if you will, when painting Jon's excellently converted Necron Cryptek.
Anyway, I better get on with some work... Does blogging count as procrastination?
Adios!