Sunday, 22 April 2012

Annihilation and Command Barges Completed!

Hello all!

It's been far too long since my last blog post and I must start off with an apology - I simply haven't had the time these last few days to post up any progress. The week before last was spent in Holland with my family; naturally not a lot of painting got done and the lack of internet connection meant I couldn't show any progress anyway. Last week's been spent seeing friends before they go back to university, as well as preparing for my own return. I have been painting however, and spent a good few hours across three days putting all the finishing touches to the last two barges.

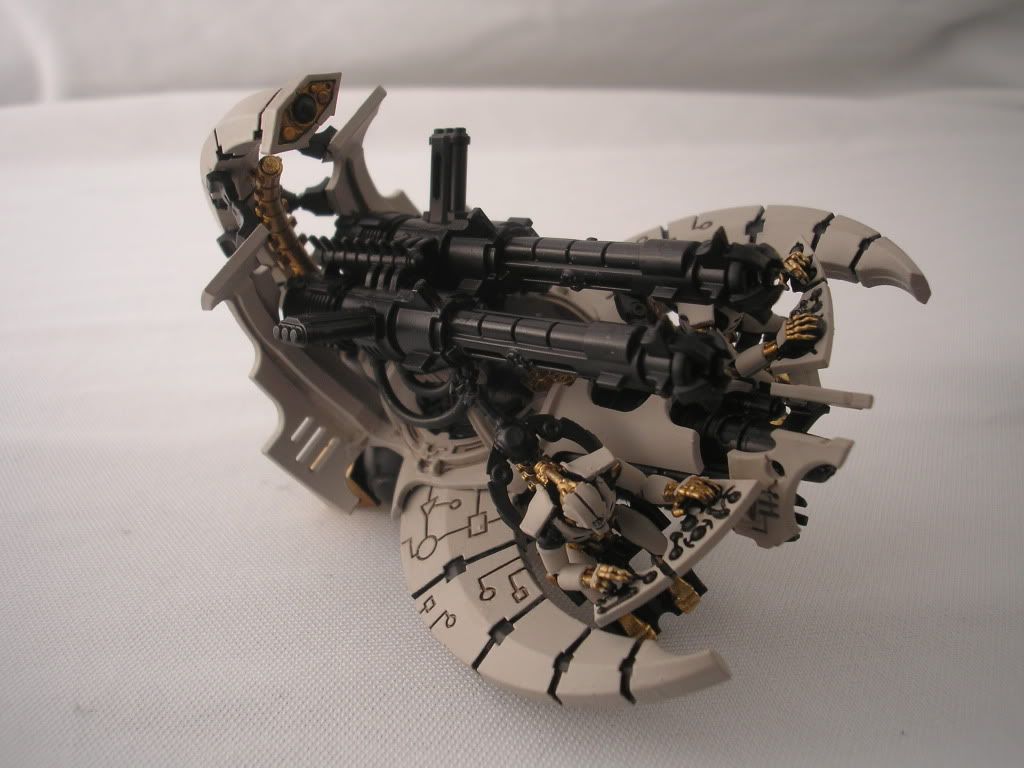
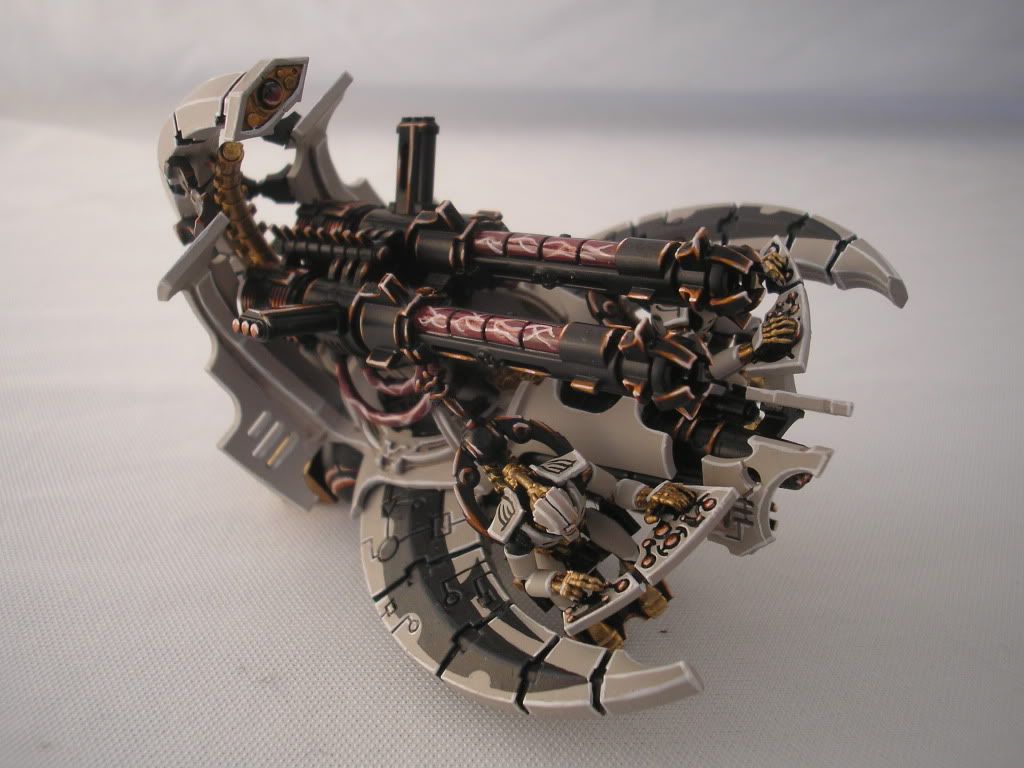
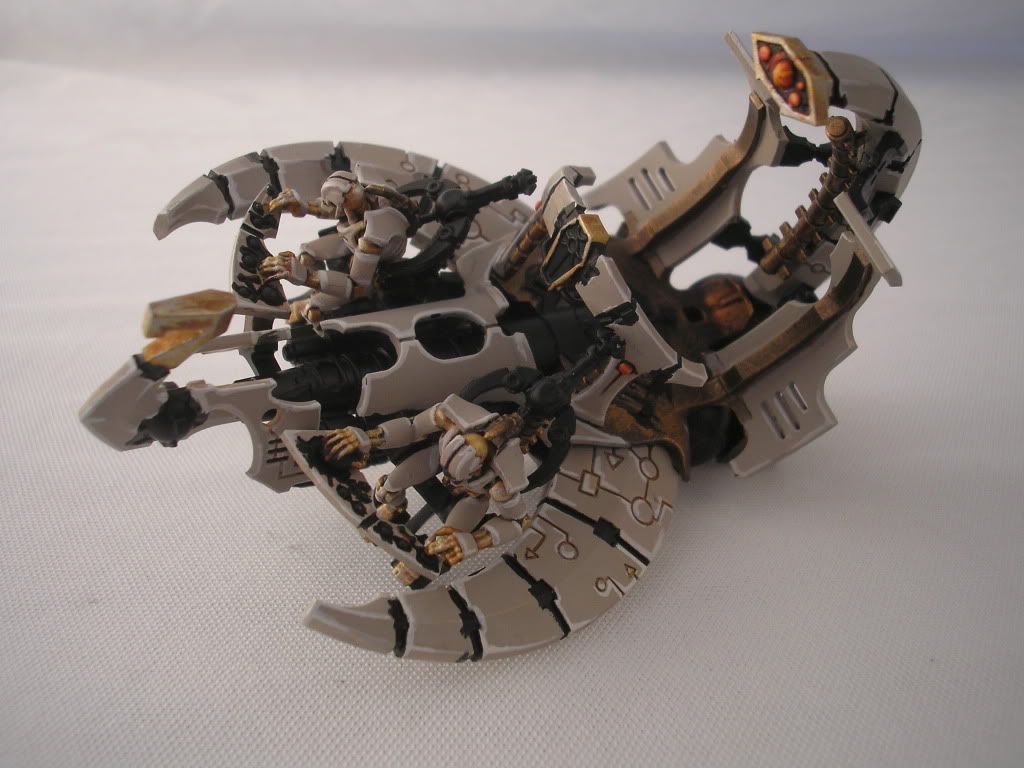
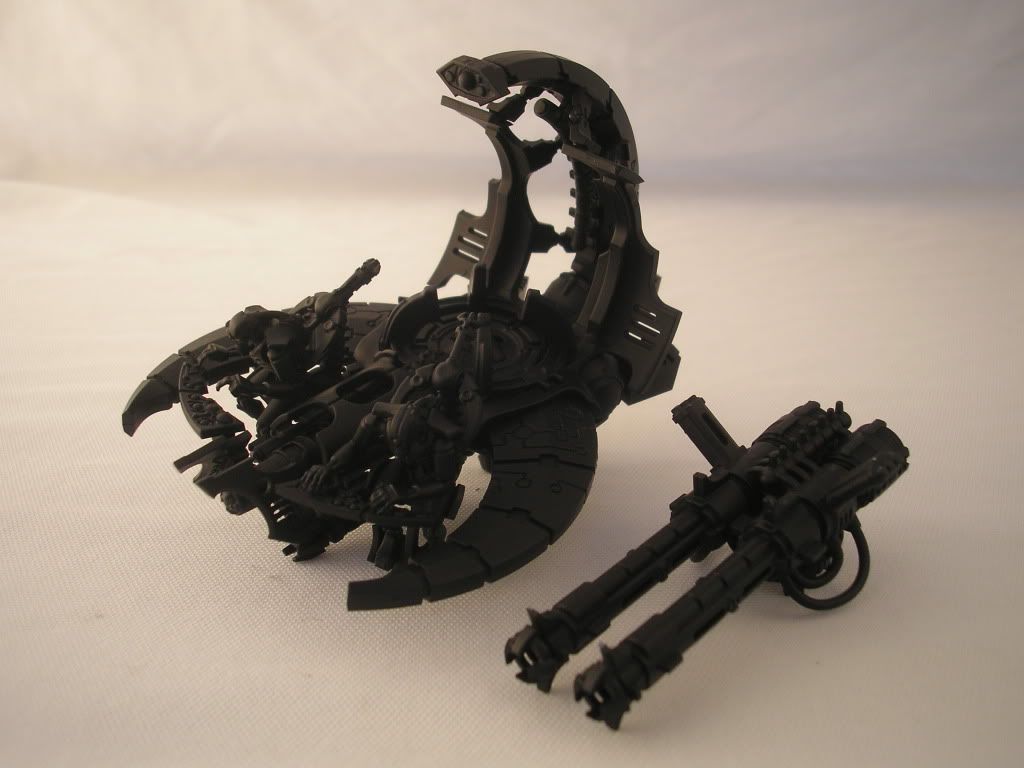
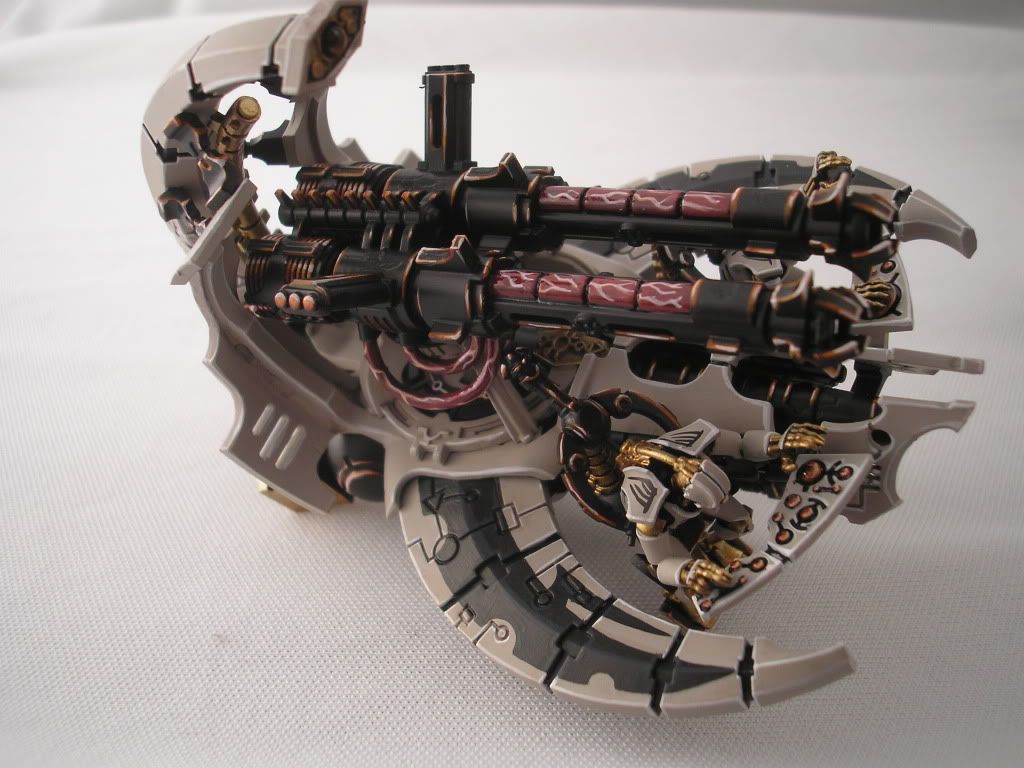
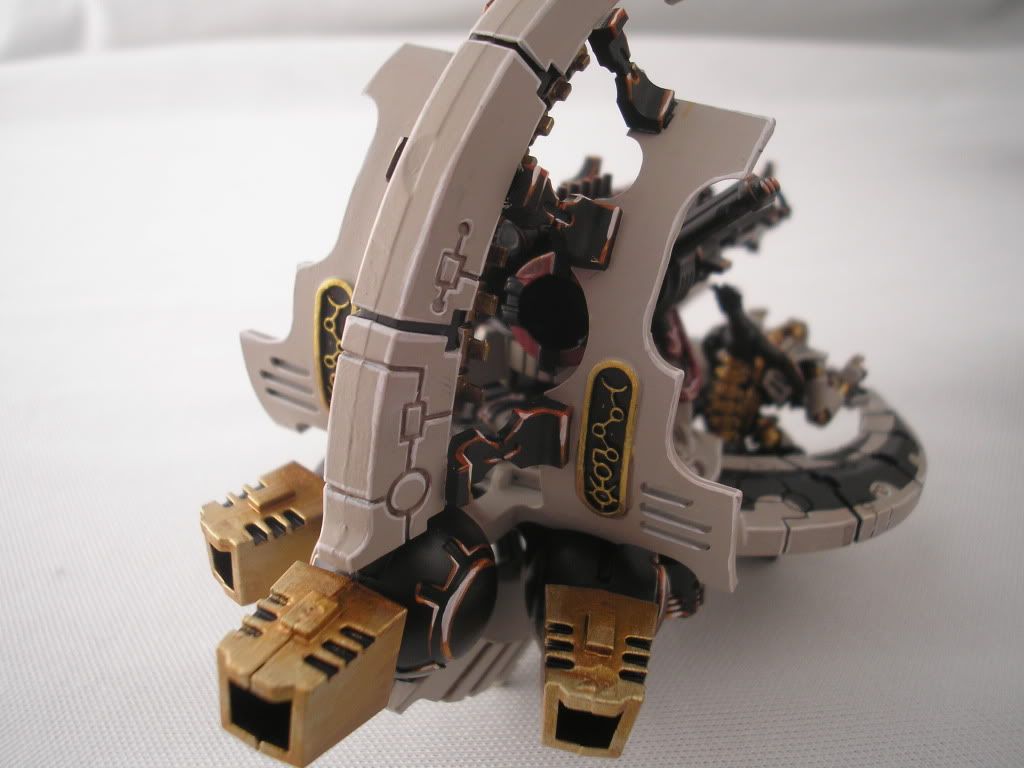
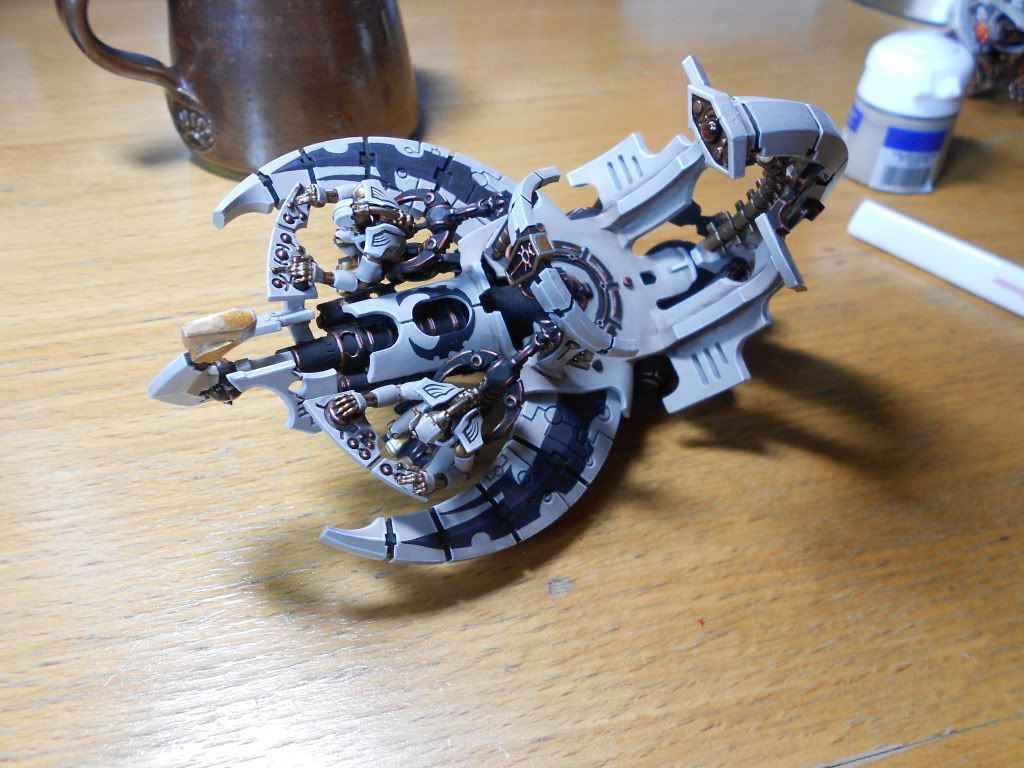
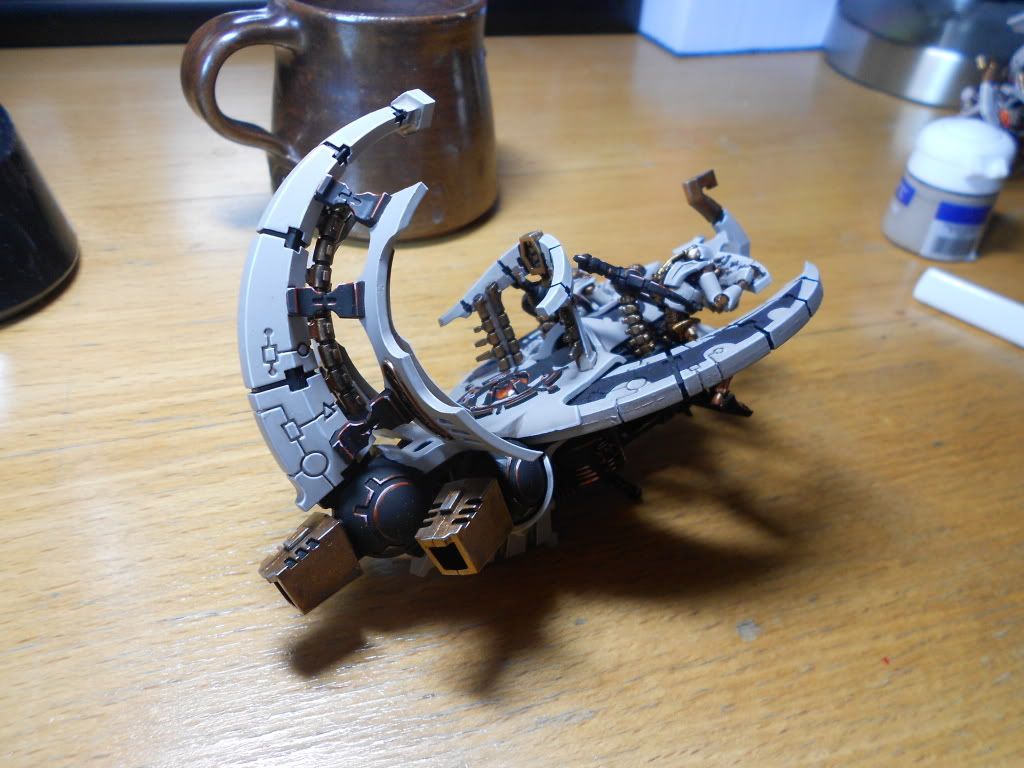
There was one more Annihilation Barge to be painted and this one is exactly the same as the previous two so there isn't much new to see here.
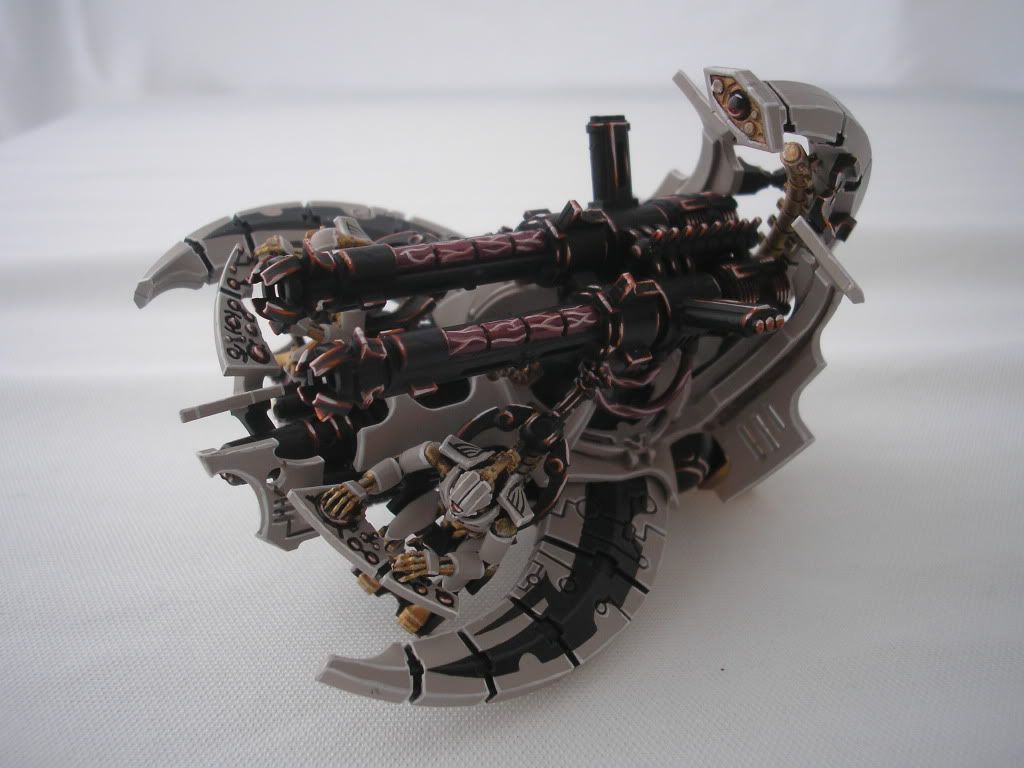

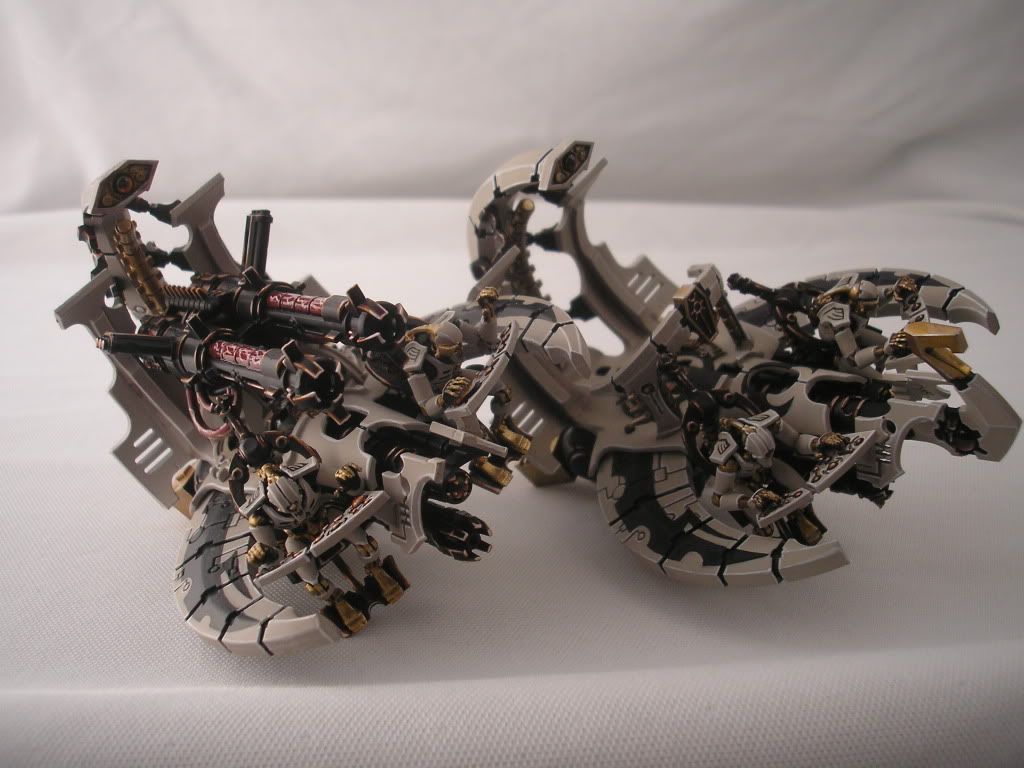
I also painted up a Command Barge to match the original I was given by the client. I think it matches up pretty nicely (you can see them both on the right of the group shot) and I'm happy with the overall result. It looks similar enough to the Annihilation Barges to fit in well with them, but different enough (mainly in shape - the lack of a massive gun will do that) to stand out. It's going to look especially tasty with a Lord mounted on it...
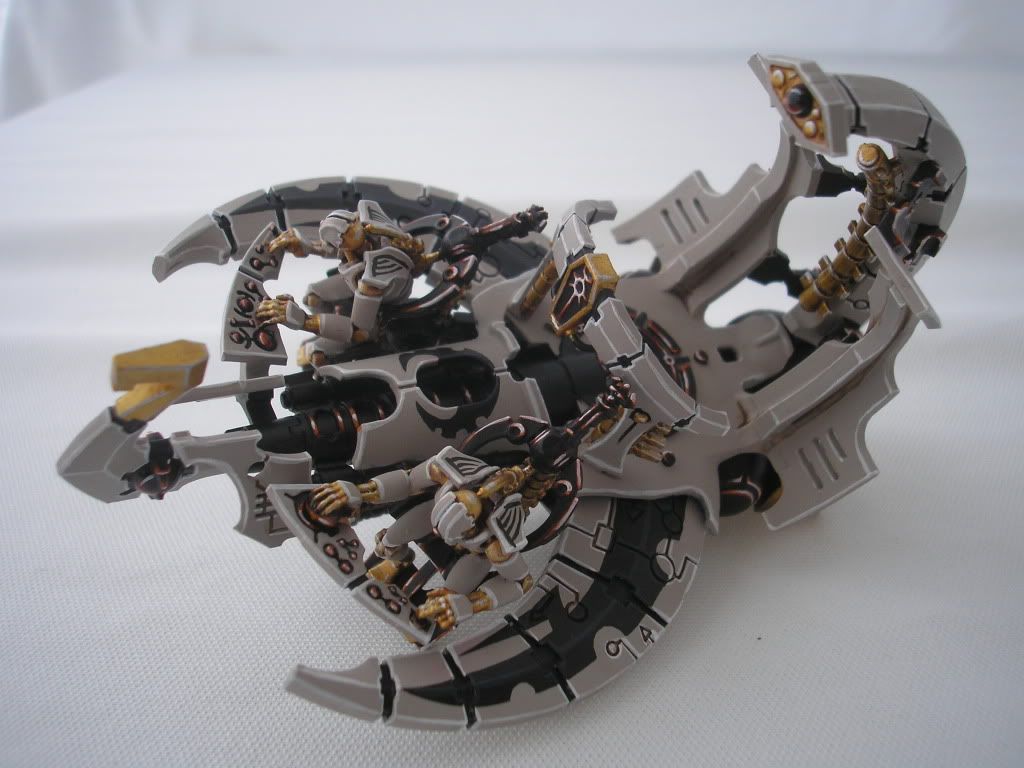

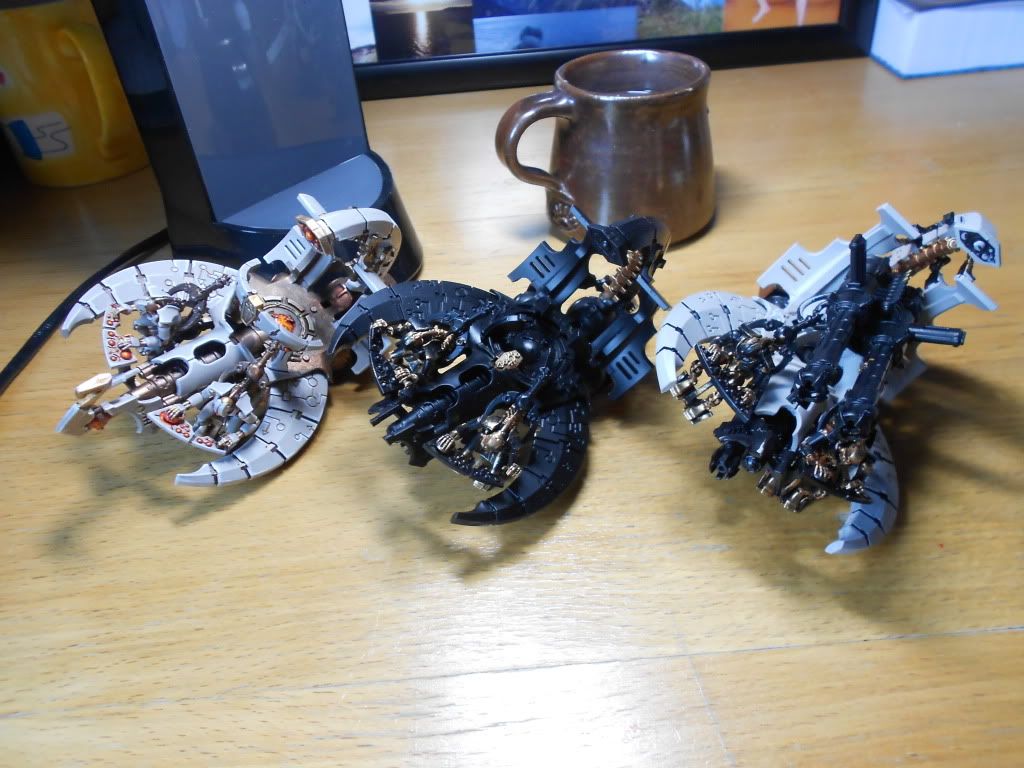
And finally just a quick group shot of the four barges I had in my possession at the time of taking these pictures. Only one Annihilation Barge is missing. It's quite the fleet now! I've given all the Necrons back to the client and I'm hoping he'll be able to take a couple of shots of this army in action over the next few days so I can put up a few here - these things look a whole lot better on their bases!
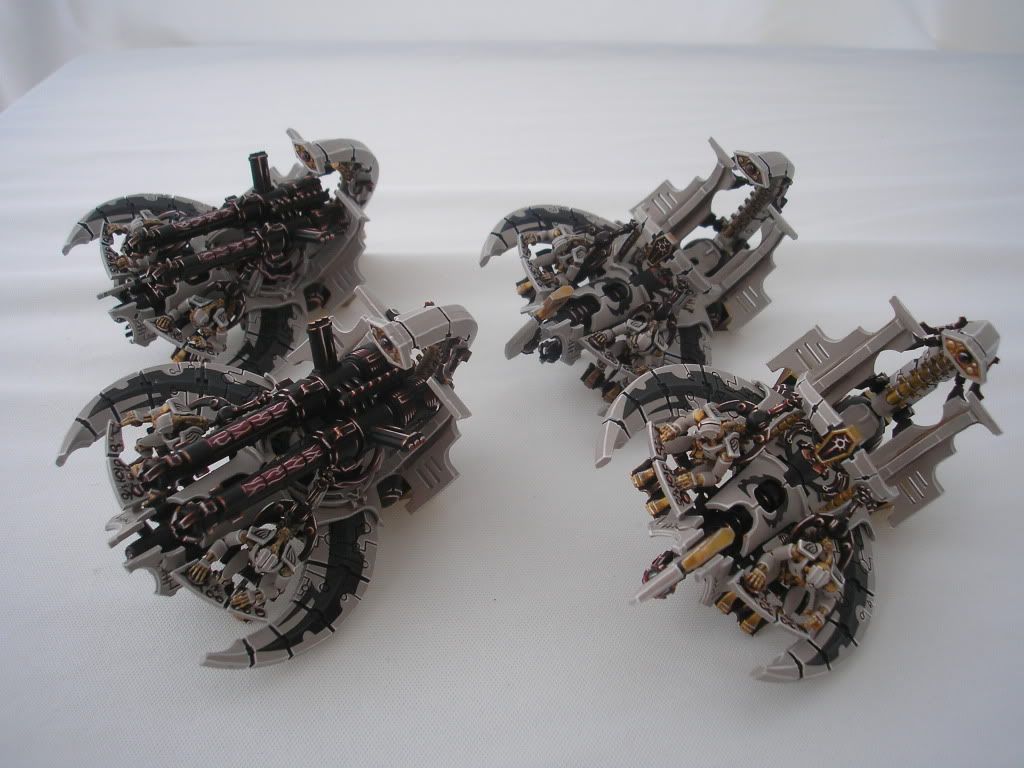

I'm glad these guys are finished and, more than that, that the Necron Overlord is happy with the results on his models. May they be kicking asses and taking names on battlefields across Tolworth soon.

Just a final note to say thank you to everyone who regularly reads my blog or gives it the occasional visit to see what I've been up to. The middle of last week saw my thousandth page view, which is very encouraging and a great motivator to keep producing stuff and blogging about it. Once again, a big thanks to everyone that has taken an interest.

See you all soon.

Sunday, 8 April 2012

Another Finished Annihilation Barge & Progress

It's been a couple of days and despite a busy schedule I've done a bit more work on the fleet of Necron Barges that has to be completed soon. After finishing one the other day, we now have two painted Annihilation Barges, one painted Command Barge, one half painted Command Barge that needs adjustment and one more assembled, and primed, Annihilation Barge. That's a lot of the word Barge... It's starting to lose meaning.

From this...
...to this!
Admittedly there is not a lot new to see here, as all these barges are tediously similar. That, however, is the point of this project - similarity is just very 'Necron'. It might not be the most interesting thing to paint the same model in the same way over and over again, but, having said that, it is a good opportunity to work on delivering consistency and accuracy - both of which are (in my eyes) necessary for a good painter.

Next up is the second Command Barge that was already painted but has to be adjusted to fit in with the new scheme. So far all I have managed to do to this one is to cover with black the areas that will need to be black (forgetting about the 'vinyl' - that comes later). With this one it is just a question of covering over the areas that need to be different colours, as well as cleaning up some of the highlighting in order to better resemble the other vehicles in the fleet.

I spent a couple of hours yesterday assembling and priming the last Annihilation Barge as well. Unfortunately I lacked an instruction manual, which made the whole process a little slower. I was being overly careful as a friend of mine had advised me that it is a notoriously difficult kit to piece together. In the end it came together fine, with no major hitches along the way. Time to break out the Dheneb Stone!


I also picked up a couple of the new Citadel Base paints yesterday at the shop, just to try them out. I bought  a white, a red, a bronze/gold (intrigued and excited about the possibility of a gold that covers well!) and a green. I was quite impressed on trying out the Base Paints when I got a chance, so I will be looking to use these in the near future. The green, white and red in particular will be seeing use when I paint the tartans on my Trollkin Champions.

That's all for today folks! Enjoy celebrating the possibility of zombies through the eating of chocolate, I'm going to get on with some painting.


Wednesday, 4 April 2012

One Finished Necron Annihilation Barge

It's been a long time since I've updated you all on my progress, so it's definitely time for a new post. I had flue for the majority of last week so I wasn't able to get as much stuff done as I would have liked... It was real flu, I promise! Not hypochondriac-man-flu!

Anyway, time is of the essence with these Necron Barges as they need to be ready before I go back to University - they are apparently needed for a tournament called Mayhem which the guys from Heroes and Legends will be attending in full force. Because of this I have been trying to up my pace without losing any quality (very hard, I can tell you!) and I have spent the majority of today at my desk.

The result? One finished Annihilation Barge!


I wanted to make it look as similar as possible to the Barge that's already painted to enhance the feel of the uniformity that is such an integral element of the Necrons. Unfortunately this uniformity does make for some rather dull painting sessions.... But it's all good, I'm keeping in mind the end result, which should be pretty solid.
Slowly the fleet grows...
These Barges are taking me somewhat longer than I expected... There's actually rather a lot of surface area on these vessels, despite them looking quite small. The other issue is that it takes about three coats of Dheneb Stone to get the solid layer and the crisp finish that I want to achieve. These layers have to be thin or else the paint will go lumpy. It's a necessary, but time-consuming, process...


I've also started work on the second Annihilation Barge and it's ready to have its 'tattoos' painted on, before I start work on the Skull White highlights. This one is going to be a bit more of a pain because, unlike the Barge I just finished, the cannon's already been glued in place on this one - this is going to make it really hard for me to get at the areas underneath the cannon and on the underside of it. 

Well, that's it for now! I've also spent a bit of time working on assembling a Dire Troll Mauler for Hordes. My 'greenstuffing' skills leave a fair amount to be desired but I'm quite happy with how he's turned out. More on him in the future I hope.

Ciao!

Wednesday, 28 March 2012

Necron Annihilation and Command Barges

Hello again, I think it's time for another update.


So my Necron-collecting friend has sent another commission my way, and this is a big one. At the moment I have in front of me two Annihilation Barges and one Command Barge, with another barge of some sort to be built in due time. They are all to be painted in the same scheme as his Deathmarks, which means a lot of time will be taken up by painting layers and layers of Dheneb Stone to get a smooth finish. The Command Barge on the left is to be repainted slightly to match the style that my friend has now decided on.

The Necron Overlord actually painted up a Command Barge himself so I would have something of a template to go by, and it's very pretty indeed!


Apologies for the poor quality of the pictures, but I'm away from home and the light-tent I have set up there. I'm in Nottingham for the week and trying to make as much progress as I can with these guys, getting in a bit of painting here and there whenever my girlfriend's at lectures. I've got a bit of time over the coming days to pop into Warhammer World too, which should be quite exciting. I love the Miniatures Hall there - having some many beautiful models in one place is quite impressive! I might see if I can get to try out some of the new range of Citadel Paints. I must say I am most intrigued as to whether they will actually be an improvement. I suppose we'll see in due course.

Thanks for reading! See you all soon.

Thursday, 22 March 2012

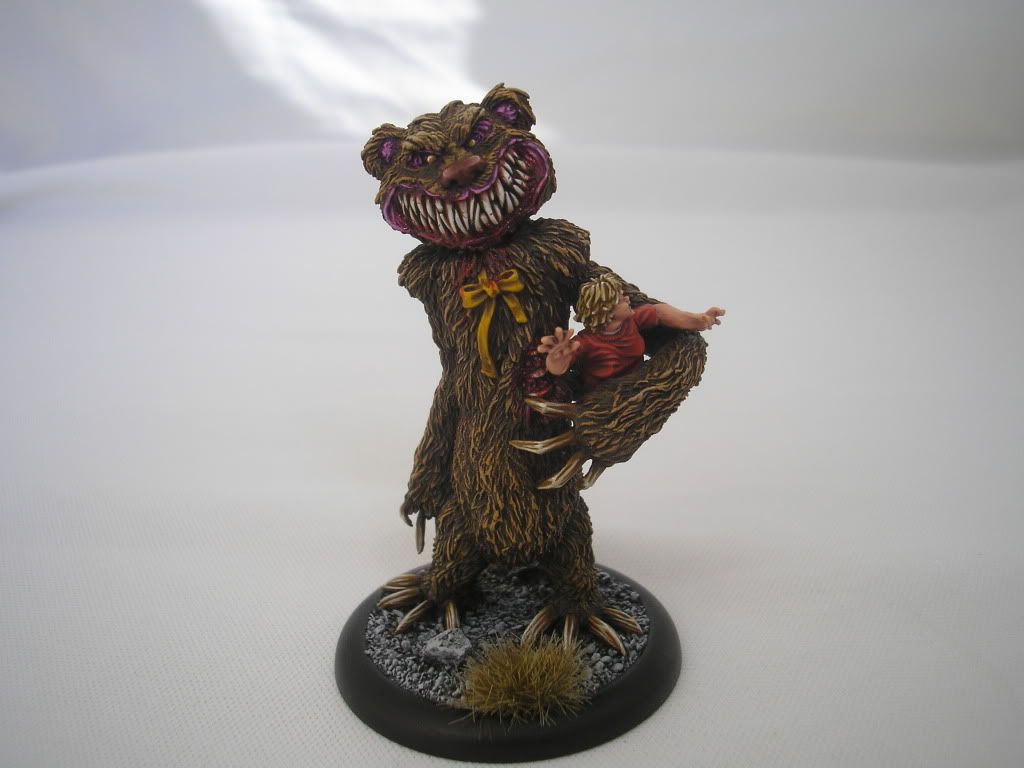
Malifaux Nightmare Teddy!

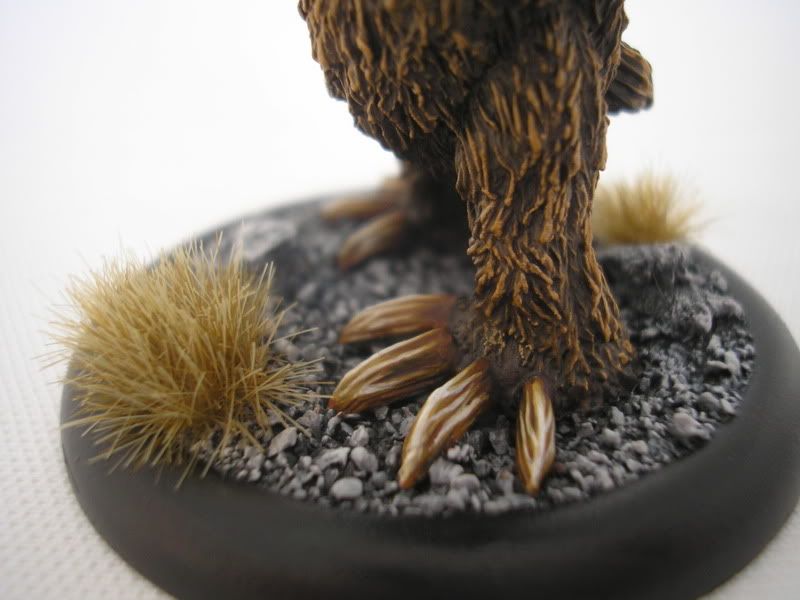
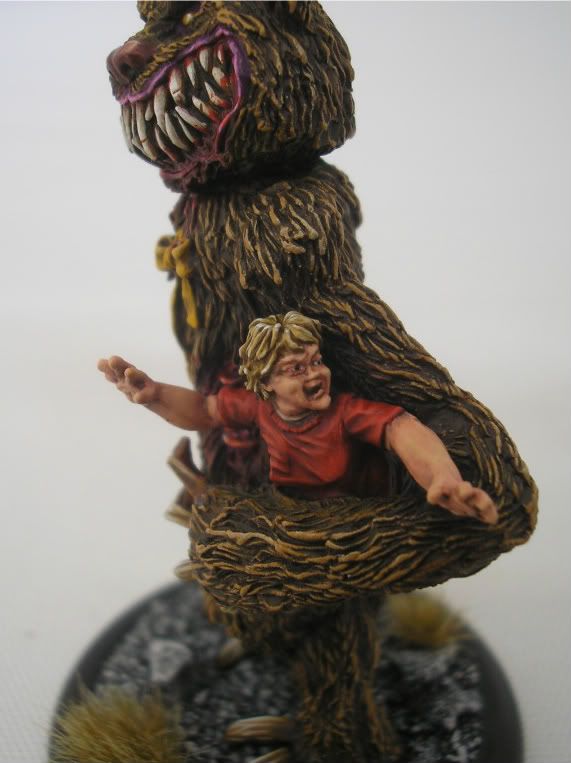
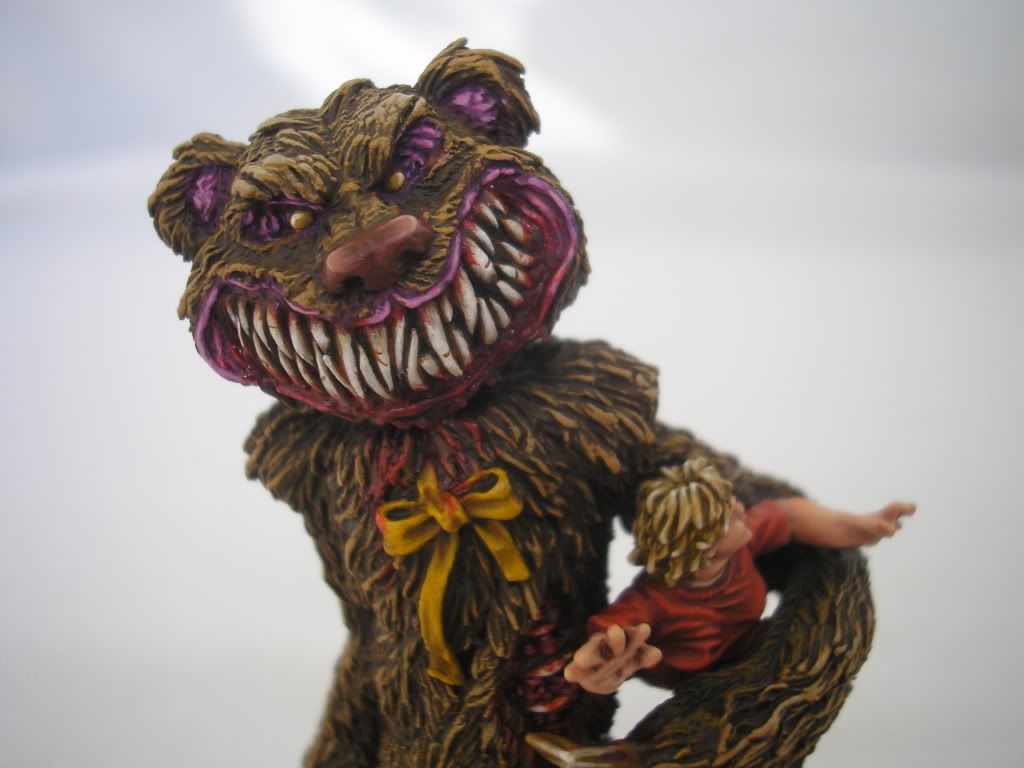
I've spent the last few days working on a model that has been sitting, primed and ready to be painted, for a long time. I'd completely forgotten about it until I got back home from Durham and in the midst of a whirlwind of brushes and paint I somehow seem to have finished Malifaux's Nightmare Teddy. Scary!

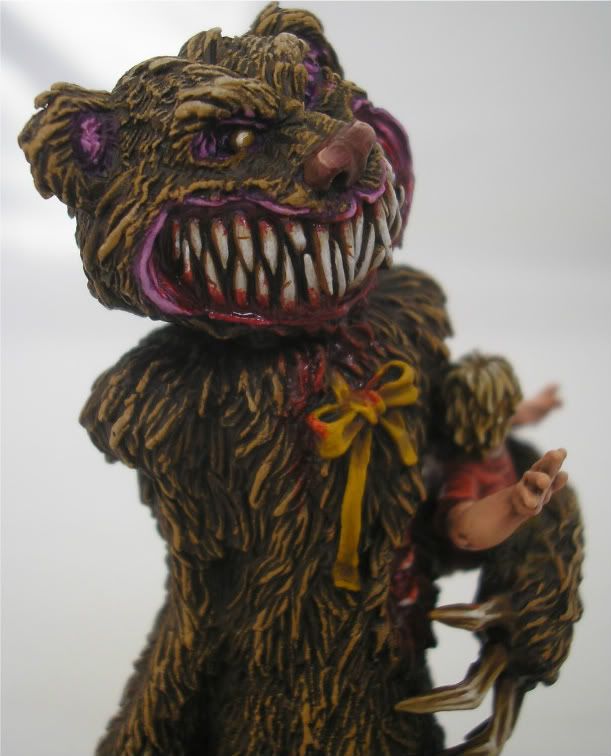
I forgot to include some standard 28mm models in the pictures for size-comparison, but take my word for it, this Teddy is BIG. Accordingly, I grabbed a nice big brush and applied a base-coat of Chaos Black and Scorched brown to his fur. From that I drybrushed Scorched Brown, progressing up to Bestial Brown and finally finishing with Snakebite Leather. The fur was relatively easy, I just tried to concentrate the lightest layers on the areas that would naturally receive the most light.

When the fur was done I started with a Vomit Brown base on the teeth, the bow-tie and the claws. I predominantly used Golden Yellow for the bow-tie, to which I added Bleached Bone for the final highlights. The teeth were given a fairly solid layer of Bleached Bone, leaving just a little bit of Vomit Brown around the edges, they were then given a very thin layer of Skull White on the parts of the teeth that stood out most. The claws were first given a wash of Devlan Mud - I wanted them to look a bit darker than the teeth - and then a layer of Snakebite Leather, concentrating on the ridges that would catch the light. Using a 1:1 layer of Snakebite and Bleached Bone I further picked out these ridges before finishing with a very thin line of pure Bleached Bone.


The slightly supernatural purple on his gums, ears and insides was painted with Liche Purple and gradually highlighted with layers that added Tentacle Pink and Fortress Grey. His nose was painted Dark Flesh and highlighted by adding gradually increasing amounts of Bleached Bone. The base was just painted grey to keep it nice and simply, before some tufts of Army Painter static grass were stuck on - this stuff is really nice by the way, it's the easiest-to-use and best-looking grass on the market.


I saved the boy till last and applied a base-coat of Mechrite Red to his shirt and Fenris Grey to his shorts. The shirt was done with layers that added increasing amounts of Blood Red, before adding in some Blazing Orange and Dwarf Flesh. I find that this combination is the best way to highlight reds - it doesn't look too orange, but doesn't go too pink either. The shorts (which I seem not to have captured - whoops.) were nice and easy, just layers of Fenris Grey mixed with Space Wolves Grey, gradually increasing the latter as the highlights get finer. His shoes were painted Scorched Brown and highlighted to Snakebite Leather.


Oh and one more thing, just to make him look a little bit more scary? BLOOD! I tried not to go overboard and just painted it round the bottom of his teeth (as if he'd just licked them clean) and a little dribble onto his torso. Blood was also applied to the wound on his left-hand side. A 2:1 mix of Tamiya Clear Red Ink and Scab Red gave me a really nice, slightly glossy and thick, mixture that I find looks quite realistic.


I left the Teddy to haunt one of the cabinets Heroes and Legends where he will live for a little while. Next on the list of things to do is another commission for my Necron-loving friend, this time it's four Command Barges, two of which have super big cannons on them (yeah that's the technical term, I looked it up). I'll put some progress shots up soon, these will probably take a bit of time!

Thanks for reading, I look forward to your comments and criticisms. Happy painting!

Sunday, 18 March 2012

Trollkin Champion Update and Haqqislam from Infinity

So! It's been a busy few days for me. I travelled home from Durham on Friday on a surprisingly smooth, and, even more surprisingly, on-time, train journey. There's been a lot of packing and unpacking, a lot of washing and clearing away but I'm more-or-less settled in now and happy to be home. Family occasions and visits have meant I haven't had a great deal of time to paint recently, but there are some things to show you...


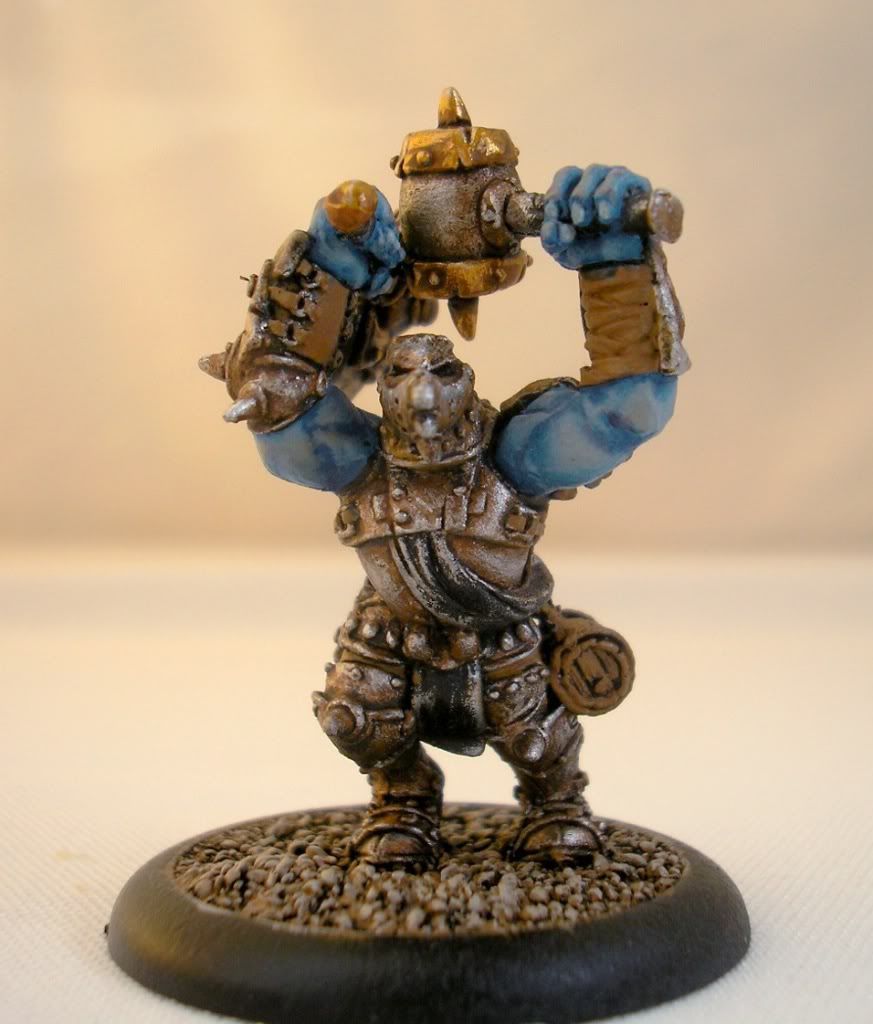
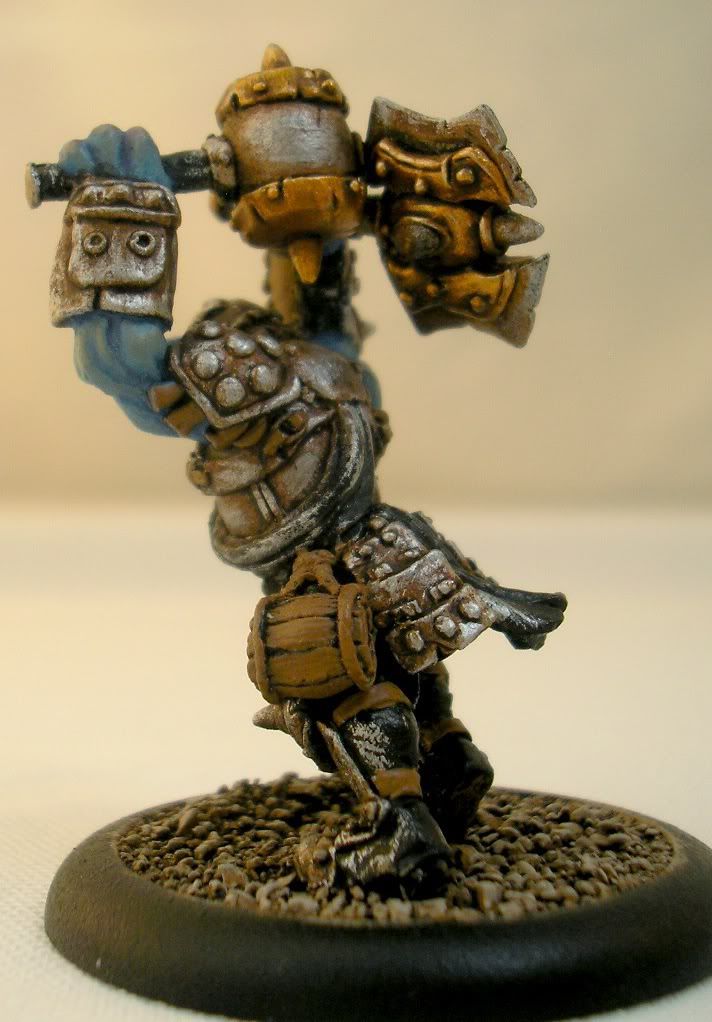
To start with, there is some progress on the Trollkin Champions. First, they've all had their bases painted (don't worry, they'll look more interesting when the grass and snow is added). Secondly, their armour is now pretty much done. After I got a look I was happy with on my test model I applied the same techniques to the others and I'm quite happy with the dirty, rusty look I think I've achieved.

Now, I've also been working on the test model, who is a little way ahead of the rest. This guy has had the brass/gold bits of his weapons completed as well as his skin. I'm happy with the gold and this will be the next thing to be applied to the other four Champions. The skin was a little (read: a lot) harder because I was ambitious (read: stupid) enough to attempt some two-brush blending...

Yeah, it was harder than those videos made it look. It's a very difficult technique - a combination of getting the right paint consistency and then applying just the right amount of water to it in order to blend it into the layer underneath. I started with a solid layer of Trollblood Base, which I then darkened by mixing it with some Midnight Blue and painting this into the recesses. That's where things got a bit messy. In trying to use the wet brush to blend the shade into the mid-tone I ended up making it into something of a wash... Which was not my intention at all.

So I had a bit of cleaning up to do before I attempted to highlight the skin. This I did in three stages. The first layer was something like a 2:1 mix of Trollblood Base and Trollblood Highlight, the second was a 1:2 mix and the last layer, applied only to the very highest bits was pure Trollblood Highlight. Finally I painted on a very thinned-down glaze of Hormagaunt Purple Wash mixed with some Scab Red on to the knuckles, to suggest some bruising and natural colouration. I'm not too appalled by it, it is a first attempt after all, but I'd really appreciate hearing what you guys think of the skin.

I'm going to keep working at my test model in order to figure out my 'paint-recipes' for the Trollblood force. I'm still no wiser on to colours I'd like to use on their tartans... I'm think about just going for a green base with stripes in red and perhaps another colour at the moment. Has anyone got any suggestions? What would work and, more importantly, contrast well in this colour-scheme?


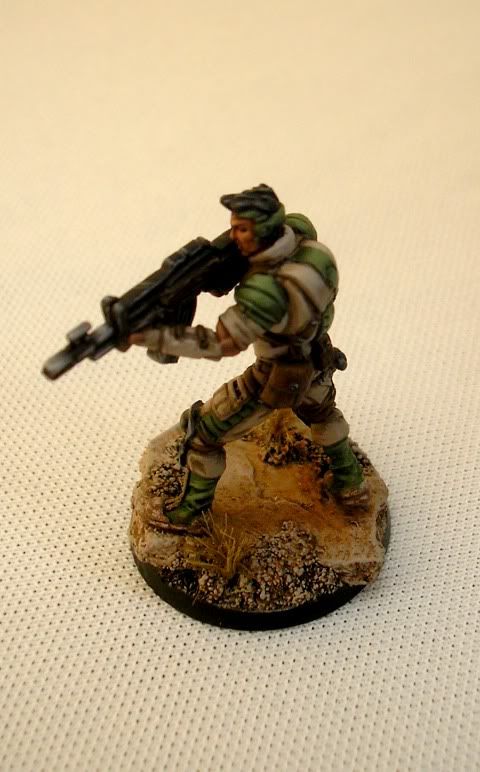
Finally, just another little thing to show you all here. This is the first model I have painted for a small Haqqislam skirmish group for the table-top war-game called Infinity. I have six more to paint before I have a little force that I can feasibly have some games with, so you'll hopefully see some progress on those in the future. I tried out a bit of non-metallic metal on this guy, just on the metal parts of the gun. It's not great but it's something I'd never tried before and something that I want to use my Infinity models to work on. I really like the desert-camo style and I chose these guys mainly for the painting-variety that they would offer me.

See you all soon and, as always, thanks for reading. As it's Mothers' Day, I'll leave you all with this:

Tuesday, 13 March 2012

An Invaluable Addition - The Ottlite

Look what arrived today!


Oh yes ladies and gentlemen, it's my very own 13W Ottlite Task Lamp which was delivered this afternoon. Firstly I can't emphasise how much I already love this thing. I'm not sure how I've managed so long without one. Seriously, I've got images in my head of me and my Ottlite running towards each other in slow-motion, across a big flowery meadow to the sound of 'Is This Love?' by Whitesnake.


Okay but seriously, this thing is fantastic. It looks a bit funky, yes, but acceptably so in my opinion. It seems sturdy, and certainly something I wouldn't mind stuffing in my suitcase if I'm going travelling anywhere. Which reminds me: it came with a European Travel Adapter! Perhaps not the most exciting thing on the surface of it... BUT, I travel to Holland quite often to see my family over there and those damn adapters always seem to go missing somehow... Quite chuffed I have actually managed to find one. Well... buy, I suppose.

I haven't even talked about using it yet. Basically, it's phenomenal. I've never realised how much difference it actually makes when you paint under a daylight bulb. First of all, colours are so much more vivid. You see them as you would see them if you looked at your model on a nice, sunny day (we do get a few! Don't be so cynical...). Secondly, I'm seeing things on the model so much more clearly. I know very little about the workings of lamps - I wasn't interested in Physics - but I'm surprised by how bright this lamp actually is, and it's only 13 Watts. I haven't had a chance to paint for an extended period of time today, so I can't comment on how it affects my eyes over a long period of time, but when I did paint my eyes felt comfortable. Wait, can eyes feel comfortable? I don't know... But that's how they felt. Like they weren't straining to see, like they had to make no effort.

Negatives? None I can think of really... It emits a VERY quiet hum when you have it on, but it's nothing worse than the hum a laptop emits when running. In fact, it's rather a lot less.

Oh, and the coolest thing about it? It doesn't have an on/off switch. To turn it on you just lift it up. And that's magic as far as I'm concerned.

A great man once said, "I love lamp."

I finally see what he means.